3D Project: Closed Shoe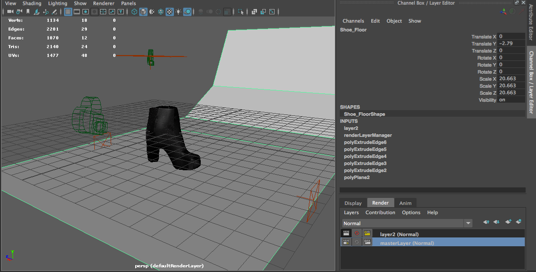
ClsoedShoe_08
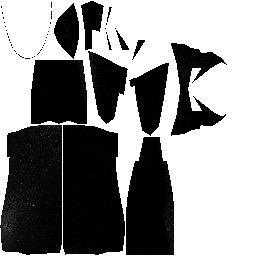
Author: CodexIN
3D Project: Concept / Brief
Recently I have spoken to colleague and he kindly introduced a friend that is developing a website which will canter an online shopping service for men and women.
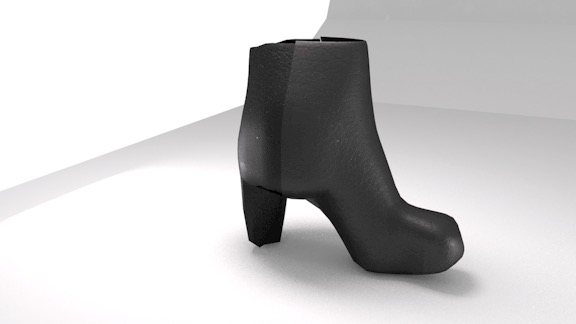
What is expected from me is to design some 3D fashion items which will be implemented onto the website.
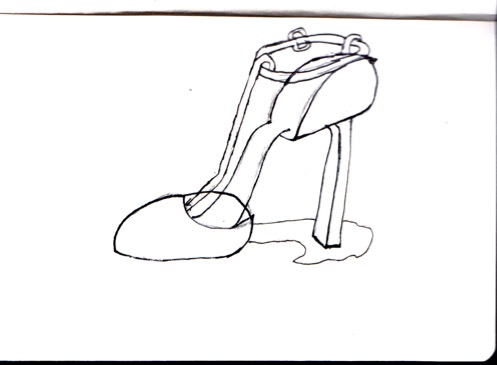
The first task that I will be doing is lady shoes. Below are some concept sketches.

Sketchfab Challenge: The Robots are Coming! : Finished Product
The challenge is now over and below is the end product.
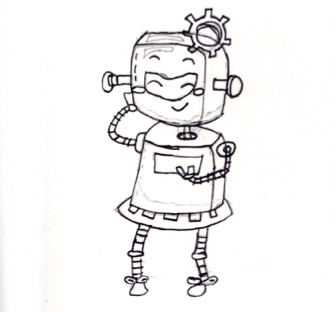
Figure 1: Finished Concept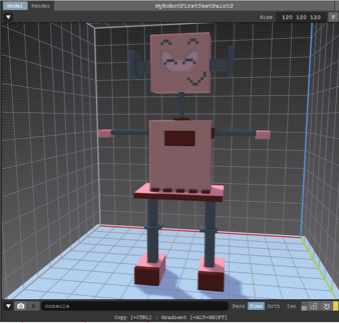
Figure 2: Female Robot Model in Magic Voxel
https://skfb.ly/66qIO
Figure 3: Female Robot Finished Model
Categories
App Research: Maps
App Research: Maps
At the moment I am researching on a app. Its all speculation but at the moment the idea might involve using maps and maybe eventually GPS or Augmented reality.
In order to understand GPS, I decided to experiment with Map view kit.
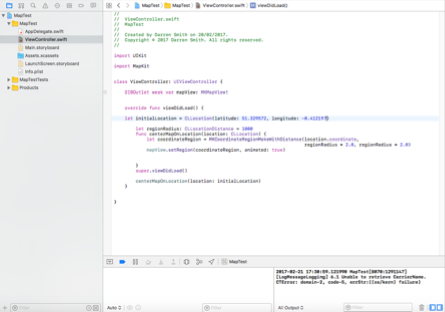
Figure 1: Map View Kit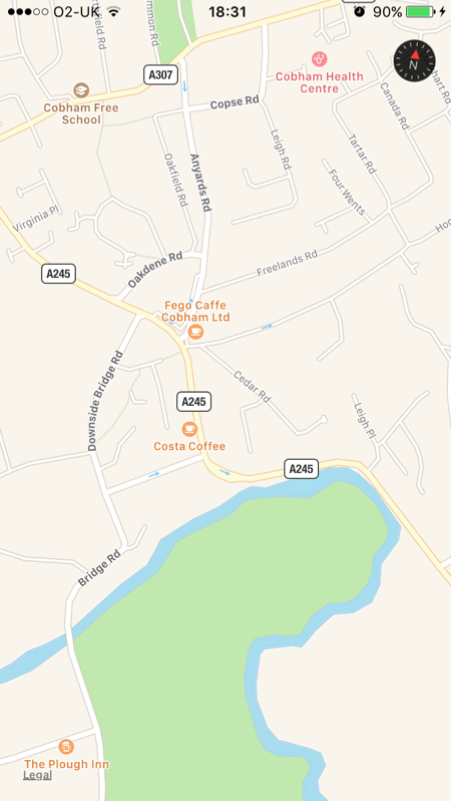
Figure 2: Map View Kit viewing the area
Sketchfab Challenge: The Robots are Coming!
“We all know the robots are coming — to take our jobs, drive our cars or make our coffee. But what else could they do, and what will they look like?”
The objective is to design a robot using voxels.
This challenge will be interesting as it is rather unfamiliar!
Below is my concepts drawings and first impression of using a specialised voxel software called MagicVoxel.
Figure 1: Concept Drawing of Robot
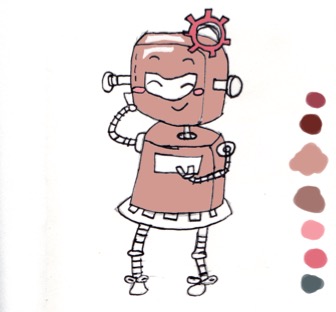
Figure 2: Concept Drawing of Robot Coloured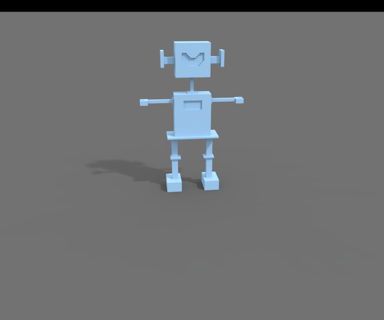
Figure 3: Magic Voxel: Designed Robot Model First Impression
Categories
Blender: Experiment with Fluids
Blender: Experiment with Fluids
Blender is 3D Software that is used to produce animations, visual effects and 3D models for interactive applications and games.
The difference between Blender, Maya and 3ds Max is that the software is free which is ideal for students or any hobbylists such as myself.
In order to familiarise myself with the interface in blender, I decided to create a simple experiment with fluids.
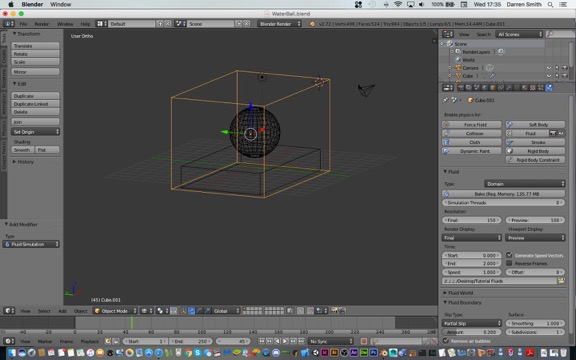
Figure 1: Object and Container set up for the fluid
The first thing I did was to create a 3D object and a container that can hold the fluids. This was done using the tools in blender to design the model, while the fluids were set up using the fluids emitter in the scene using the physics tab in the scene properties window.
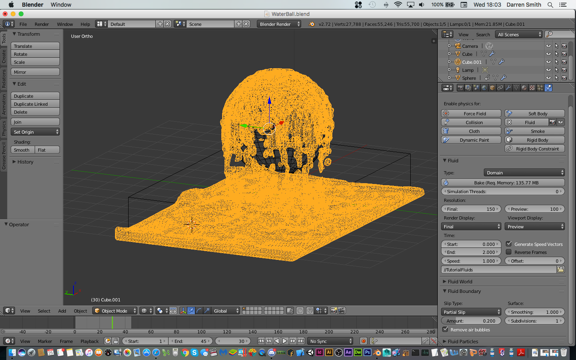
Figure 2: The fluid interacting with the ball
Once the fluid is created, the object is then animated. This is done by setting the keyframe in the animation slider before the object is moved in the scene. Once that is done, the animation is played and the object is interacting with the fluid by passing through the container. The figure above is the result of the animation.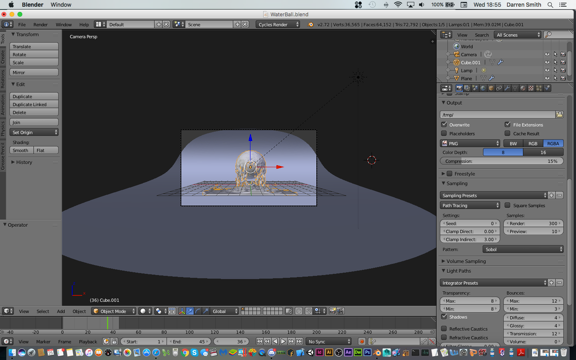
Figure 3: Setting up the camera shooting the fluid on the ball.
Once the animation is created, the next step is to add some lightning and camera to the scene. This is so the object can be rendered through the lens as the end result. Lastly material is added to the object and fluid to give it a sense of realism. In this case I chose the glass texture for the object to give it a sense of reflection against the fluid. Below is the end result.
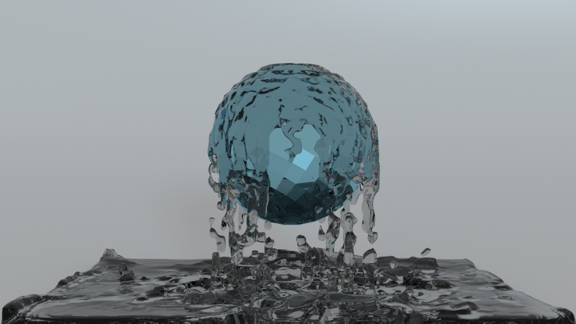
Figure 4: Final Render of the Fluid
NEXT STEP?
Experiment with the lightning / baking options in Blender so the object can be taken into Sketchfab for viewing purposes.
Categories
Xcode: Making a Food Tracker App
Building a Basic Food Tracker app
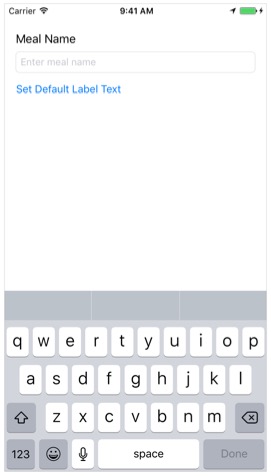
To get familiar and retain my skills with Xcode for writing apps I will you making a simple user interface for the Food Tracker app and view in simulator / phone. Below is what the end result would hopefully look like.
Below is what the end result would hopefully look like.
Categories
Developing the Health System
During this month I started a tutorial to learn how to build a RPG game. The reason i have decided this path is to grasps the basics and better a fundamental structured core game mechanics before tackling the creative part. One of the first things I did is adding a health bar system to the game. In this particular RPG a health system is important as the objective would be about avoiding the enemy as well as dealing damage to the enemy.
To do this I first create two scripts for the player and enemy. Below is example of the what the script looks like.
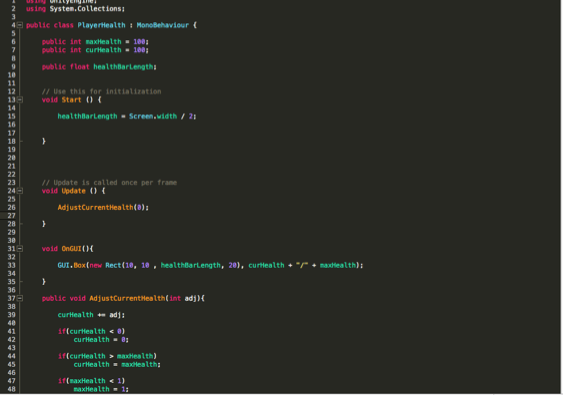
Figure 1: Player and Enemy Script
Inside the scripts i then created the Max health and Current health public integers variables to store the players and enemies health. As well as creating a box to show the bars i also created an If Statement condition that allows the hp bar to deplete based on the collision between the player and the enemy. Below is the end result of the health bars.
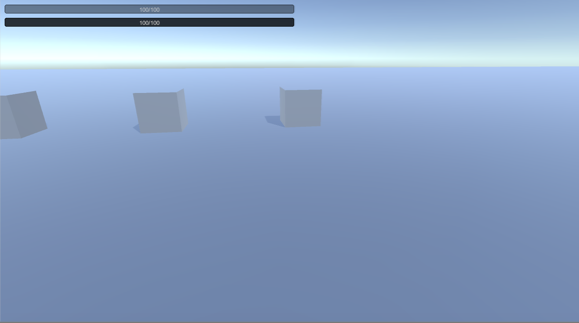
Figure 2: Health bars
Categories
RPG Hack Slash Game: Targeting
Today i created a targeting system for the player. This is done by a creating a target script where it mark the colour of the target that the player is selecting and change colour when the player selects the target. Also once the target is selected, the player can then attack the enemy(which are the cubes in this case) pressing the attack key and enemies health will deplete. This is a very useful feature and will come useful later on when the enemies models are introduced. Below are the examples of the cubes and the target script
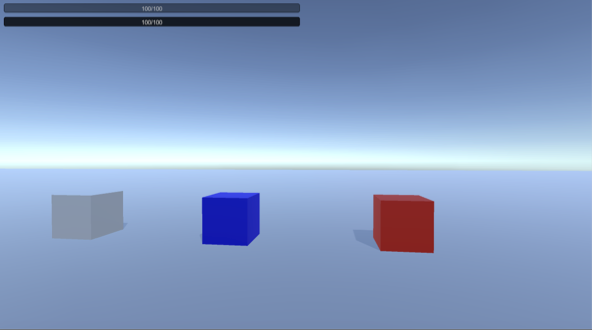
Figure 1: Player Selecting which enemy to attack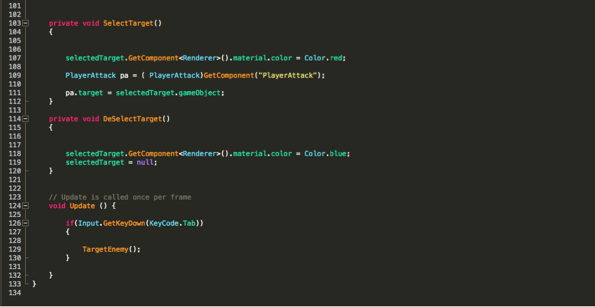
Figure 2: Target Script
This today and this month I am working on the character stats setup. In RPG games this is the most important set before i ever think of producing the game. It is vital that there is a system in place for the player to select a character and level up their stats. In the screenshot a character selection screen along with the initial stats is created.
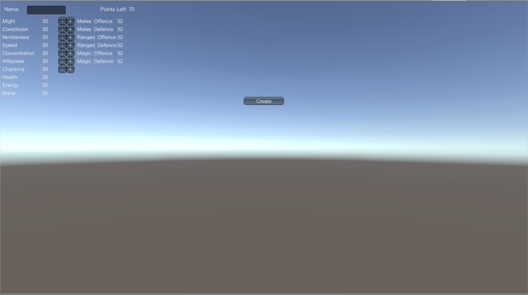
Figure 1: Create Character Selection + stats
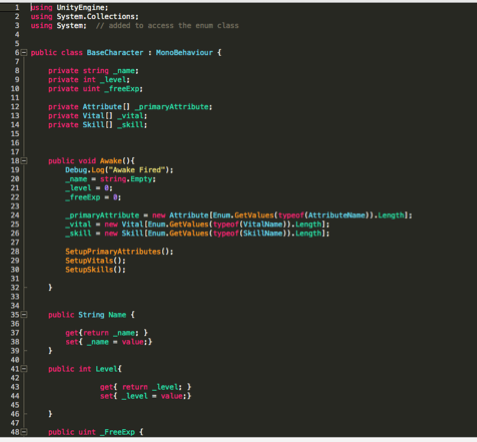
Figure 2: Character Base Stats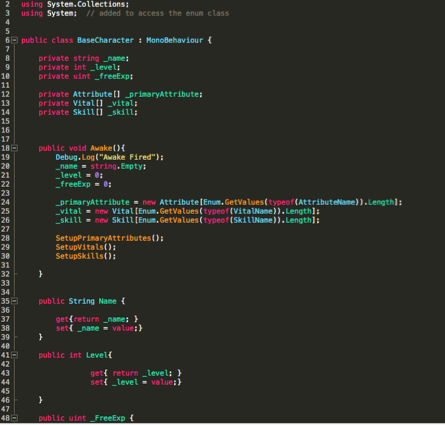
Figure 3: Character Exp / Level System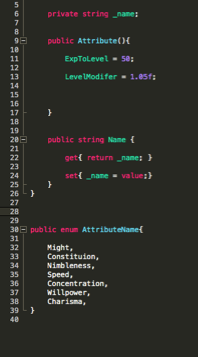
Figure 4: Character Attribute Names and Exp Modifier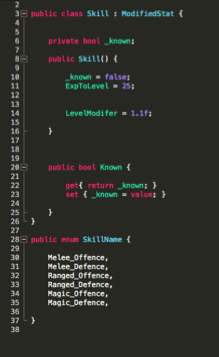
Figure 5: Character Skills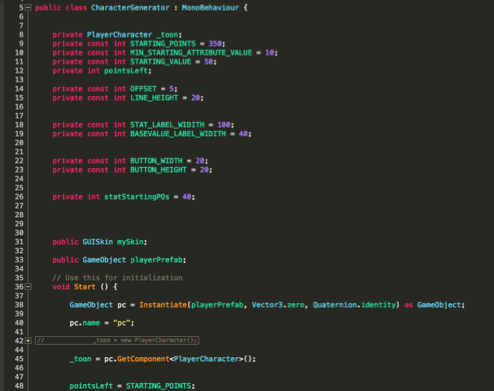
Figure 6: Character Generator(Loads the model)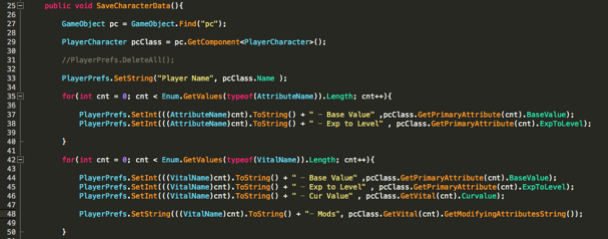
Figure 7: Character Save data( Stores and saves the Character and Username)